 ultimate-guide
Motorcycle Maintenance Tips for Beginners: 2026 Guide
Table of Contents
- Start With These Motorcycle Maintenance Tips for Beginners
- Basic Motorcycle Tools for Beginners: What to Keep in the Garage
- Your Motorcycle Maintenance Checklist for Every Ride and Every Season
- Motorcycle Chain Cleaning and Lubrication: The Step-by-Step Routine
- Fluids, Filters, and Battery Care You Can Handle Yourself
- Winter Storage, Fuel Stabilizer, and Eco-Friendly Fluid Disposal
- Troubleshooting Odd Sounds and Feelings as a New Rider
- Keep a Maintenance Log So Nothing Slips
- Frequently Asked Questions
Last Updated: September 22, 2026
Start With These Motorcycle Maintenance Tips for Beginners
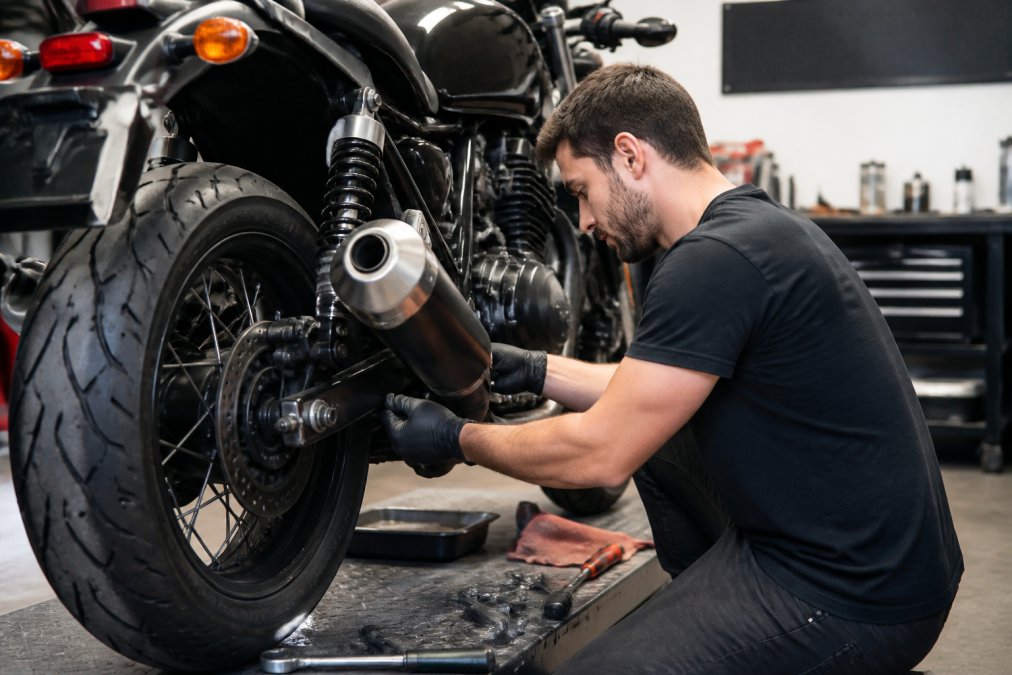
Motorcycle maintenance means inspecting, cleaning, adjusting, and replacing wear items so a bike stays safe and reliable between services. This guide from Monarch Honda covers the tips beginners actually need, from a 60-second walkaround to winter storage. A neglected chain or soft brake lever rarely announces itself before it becomes a safety problem.
Why the First 600 Miles Matter
The first 600 miles are the break-in window. Manufacturers typically call for an initial service around this mark because new engine components seat against each other, shedding fine metal particles into the oil; skipping it means those particles keep circulating. During break-in, vary engine speed, avoid sustained high rpm, and check the owner's manual for the exact interval.
The Owner's Manual Is Your Service Schedule
The owner's manual is the single most important maintenance document a beginner can own. It lists recommended intervals for oil, filters, chain adjustment, and valve checks specific to your model, plus torque settings for critical fasteners. Guessing at "tight enough" on an axle nut or brake caliper bolt is how riders strip threads or lose a component.
Basic Motorcycle Tools for Beginners: What to Keep in the Garage
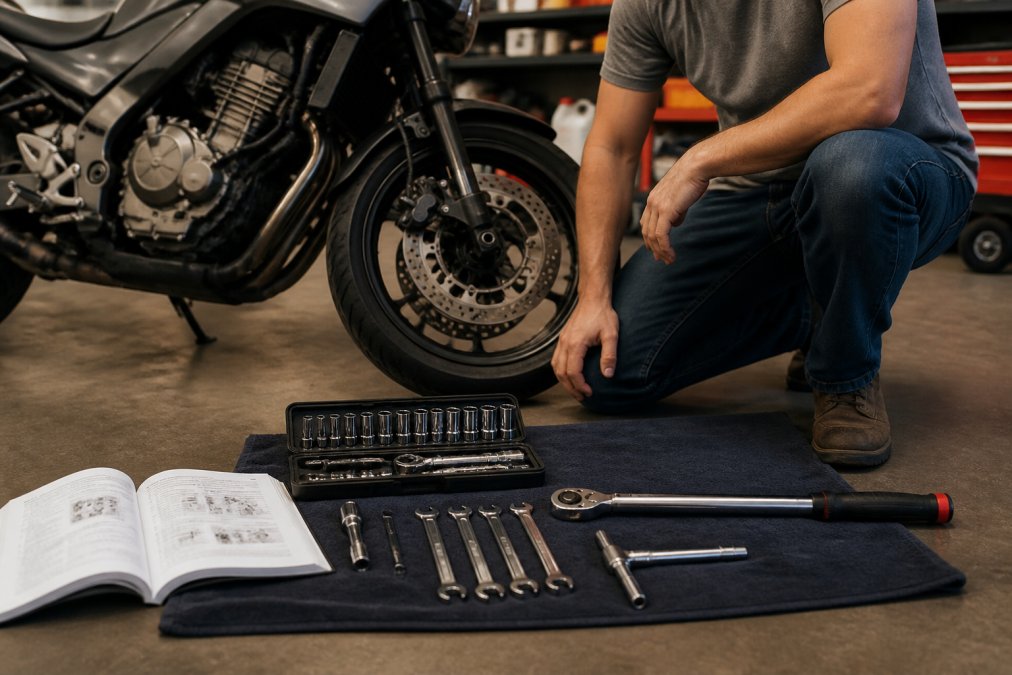
A beginner tool kit does not need to fill a rolling cabinet, just the right basics, kept together.
Start with these:
- A metric socket set and combination wrenches sized to your bike's fasteners
- A torque wrench, because hand-tight is not a specification
- A chain brush, degreaser, and chain lubricant
- Tire pressure gauge and a tread depth gauge
- Nitrile gloves, shop rags, and a drain pan for fluid changes
Your Motorcycle Maintenance Checklist for Every Ride and Every Season
A maintenance checklist splits into three rhythms: a 60-second pre-ride inspection, a monthly deep pass, and a seasonal transition. Keeping all three on paper beats relying on memory.
Pre-Ride Inspection: The T-CLOCS Walkaround
T-CLOCS is the industry-standard pre-ride inspection framework from the Motorcycle Safety Foundation: Tires and wheels, Controls, Lights, Oil and fluids, Chassis, and Stands. It takes about a minute once it becomes habit and catches the failure points behind most roadside breakdowns.
Walk the bike before every ride in this order:
- Tires and wheels. Check pressure with a gauge, not a thumb. Look for cuts, embedded objects, and tread below the wear indicators, then spin each wheel for wobble or a sidewall bulge.
- Controls. Squeeze the front brake lever and press the rear pedal; both should feel firm, not spongy. Confirm the throttle snaps back, then turn the bars lock to lock and check that cables and hoses are not pinched.
- Lights. Test the headlight on low and high beam, both turn signals, the brake light with each brake control, and the horn.
- Oil and fluids. Check the engine oil sight glass or dipstick with the bike upright, and look underneath for fresh drips.
- Chassis. Look for cracks, loose fasteners, or anything hanging. Bounce the suspension and listen for a clunk.
- Stands. Confirm the side stand springs return fully and the kill switch on the stand (if equipped) works.
Monthly Checks
Once a month, go deeper than the walkaround:
- Brake fluid level and color in both reservoirs. Dark or cloudy fluid is due for a flush.
- Coolant level at the reservoir, checked cold. Never open a radiator cap on a hot engine.
- Battery terminals for white corrosion and tightness. A loose terminal mimics a dead battery.
- Drive chain slack against the manual's spec, measured at the midpoint between sprockets.
- Tire tread depth with a gauge, plus a check for uneven wear that points to alignment or pressure problems.
- Air filter condition, sooner if you ride in dust or on unpaved roads.
Seasonal Transitions
Seasonally, think about what is changing around the bike, not just on it. Before summer, verify coolant strength and set tire pressures for higher ambient temperatures. Before cold weather, plan for fuel stabilizer, battery care, and a chain lube that does not thicken in the cold. If the bike will sit for weeks, a battery tender and a full tank prevent the two most common spring no-starts.
Put It on Paper
The habit that separates riders who stay ahead of maintenance from those who chase problems is a written log. Record the date, mileage, and what you did for every oil change, chain service, tire check, and fluid top-up. Patterns emerge fast: if you are adjusting the chain every week, it is stretched and due for replacement.
| Check | How Often | What to Look For |
|---|---|---|
| T-CLOCS walkaround | Every ride | Tires, controls, lights, fluids, chassis, stands |
| Tire pressure and tread | Every ride | Pressure per manual, tread above wear indicators |
| Chain slack and lubrication | Every 300-500 miles | Correct slack, no stiff links, clean and lubed |
| Engine oil level | Weekly | Between min and max, no milky color |
| Brake and clutch fluid | Monthly | Level at mark, not dark or cloudy |
| Battery terminals | Monthly | Clean, tight, no white corrosion |
| Air filter | Per manual, sooner in dust | Clean or replace, no tears |
| Coolant level | Monthly, cold | At reservoir mark, correct color |
| Full service per manual | Per manual interval | Valves, plugs, and other scheduled items |
Motorcycle Chain Cleaning and Lubrication: The Step-by-Step Routine
- Put the bike on a rear stand so the wheel spins freely.
- Spray the chain with a dedicated degreaser and let it sit for a few minutes.
- Scrub with a chain brush, working along the full length.
- Wipe away the loosened grime with a shop rag.
- Check slack against the manual's spec and adjust if needed.
- Apply lubricant to the inside of the chain while rotating the wheel slowly.
- Let it dry before riding so it does not fling off.
If the chain has tight spots, kinks, or rust you cannot scrub out, it is past saving. Replace it rather than adjusting around the problem.
Fluids, Filters, and Battery Care You Can Handle Yourself
The fluid and battery jobs below are within reach for a beginner with basic tools. One rule applies to all of them: use the fluids and filters your manual specifies, not whatever is on sale.
Engine Oil, Oil Filter, and Coolant
Engine oil is the lifeblood of the motor, and changing it on schedule is the single best thing you can do for longevity. Warm the engine briefly, drain the old oil, replace the filter, reinstall the drain bolt to the manual's torque spec, and refill to the correct level. Coolant deserves the same attention: check the reservoir cold, top up with the specified type, and never open a radiator cap on a hot engine.
Battery Maintenance and Trickle Charging
Batteries fail quietly, and a bike that sat all winter is the classic victim. A battery tender (trickle charger) keeps the battery topped up during storage without overcharging. Clean the terminals, keep them tight, and use a maintainer rated for motorcycle batteries.
Winter Storage, Fuel Stabilizer, and Eco-Friendly Fluid Disposal
Winterization prevents problems while the bike sits. Fuel stabilizer keeps gasoline from breaking down and gumming the fuel system, so add it and run the engine briefly to circulate it. Fill the tank to reduce condensation, change the oil so contaminants do not sit against engine internals, and remove or tender the battery.
Troubleshooting Odd Sounds and Feelings as a New Rider
New riders often hear a noise and assume the worst, or hear nothing and assume everything is fine. The skill worth building is calibration: knowing what your bike normally sounds, feels, and vibrates like, so a change stands out. Most odd sounds trace back to a short list of causes.
Learn Your Bike's Baseline First
Before you can spot a problem, you need a reference. On a quiet stretch, notice the idle note, the vibration through the bars and pegs at cruising speed, the brake lever feel, and the chain sound at a steady roll. That baseline is your diagnostic tool, a change from it is the signal, not the sound itself.
Triage by Severity
Not every noise is a stop-riding event. Sort what you notice into three buckets:
- Stop riding now. Any change in braking feel, a spongy or soft lever, a wheel that wobbles, smoke, a burning smell, or a sudden loss of power. These are safety-critical and get diagnosed before the next ride.
- Fix before your next long ride. A new rhythmic click, a squeal under braking, a rattle over bumps, or a chain that needs adjustment more often than usual.
- Note and monitor. A faint new vibration at one speed, a slight change in exhaust note, or a small drip that appears once. Log it and watch whether it repeats.
Common Sounds and What They Usually Mean
- Rhythmic clicking that speeds up with the wheel. Usually chain slack, a stiff link, or a worn chain and sprocket. Check slack against the manual and look for kinks.
- High-pitched squeal when braking. Often glazed or worn brake pads, or a rotor contaminated with oil or cleaner. Pads have wear indicators; if they are gone, replace them.
- Rattle over bumps. Often a loose fastener, heat shield, or chain guard. Check the fasteners you can reach and torque them to spec.
- Spongy brake or clutch lever. Air in the line or low fluid. This is a stop-riding item, not a wait-and-see item.
- Rough idle or hesitation after storage. Often old fuel. Stabilizer prevents it; a fresh tank and a short ride often clear it.
- Whine that rises and falls with engine speed. Can be normal gear or intake noise on some models. Compare to your baseline before assuming a fault.
- Grinding or metal-on-metal under braking. Worn pads down to the backing plate. Stop riding and inspect immediately.
Feelings, Not Just Sounds
The Motorcycle Safety Foundation's rider resources are a solid reference for building safe riding and inspection habits. When you cannot place a sound or a feeling, write down when it happens, at what speed, and under what conditions, then bring that note to a technician. A specific description gets a faster and cheaper diagnosis than "it makes a noise."
Keep a Maintenance Log So Nothing Slips
A maintenance log is the simplest tool in the garage and one of the most valuable. Record the date, mileage, and what you did for every oil change, chain service, and tire check. Patterns emerge fast: if you are adjusting the chain every week, it is stretched and due for replacement. The log also pays off at resale, showing a buyer the bike was cared for and telling a technician exactly what has been done.
Frequently Asked Questions
What basic tools do I need for motorcycle maintenance?
Start with a metric socket set, combination wrenches, hex keys, a torque wrench, a tire pressure gauge, and a chain brush with degreaser and lubricant. Add a trickle charger for the battery and a funnel for fluids. Your owner's manual lists exact torque settings and fastener sizes, so buy to match your bike rather than a giant generic kit. A basic set covers oil changes, chain adjustment, and most pre-ride inspection tasks.
How often should a beginner perform motorcycle maintenance?
Do a quick pre-ride inspection before every ride: tires, controls, lights, oil level, chain, and stands. Check tire pressure and chain slack weekly, clean and lubricate the chain every 300 to 600 miles, and change engine oil and filter at the interval in your owner's manual, often around 4,000 to 8,000 miles. Follow the manual's service schedule for valve checks and brake fluid.
How do I know when my motorcycle chain needs adjustment?
Check drive chain slack at the midpoint between the sprockets against the spec in your service manual, usually about 1 to 1.5 inches of up-and-down movement. If it is tighter or looser, adjust it. Also look for kinked links, rust, or worn sprocket teeth, and replace the chain if wear indicators show it is stretched. A loose chain can slap the swingarm; a tight one wears out bearings.
Is it safe for beginners to perform their own motorcycle oil changes?
Yes, for most riders. An oil and filter change is one of the most beginner-friendly jobs: warm the engine briefly, drain the oil, replace the filter, refill with the weight your manual specifies, and check the level. Use a new crush washer, torque the drain bolt to spec, and dispose of used oil at a recycling center that accepts motor oil. If you are unsure, a dealer service department can handle it and log it for you.